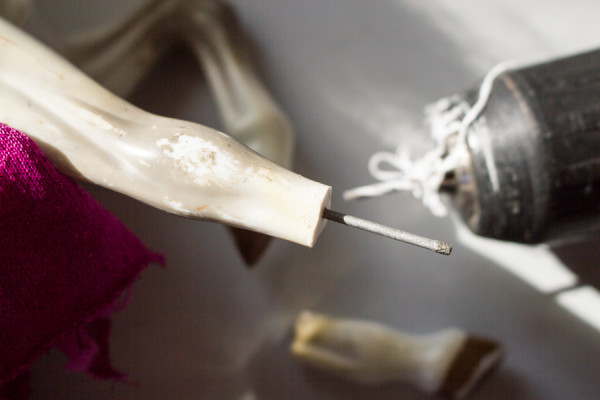
Children’s toys bring immense joy and laughter into our homes. As parents, we want to ensure that these toys last as long as possible, making cherished memories. However, accidents happen, and toys can break. When faced with a broken plastic toy, don’t despair! With the right techniques, you can restore your child’s favorite playmate to pristine condition.

Image: craftingagreenworld.com
Before delving into repair techniques, let’s explore the wonderful world of plastics:
Understanding the Versatile World of Plastics
Plastics are versatile materials that have revolutionized the toy industry. They come in various types, each with unique properties.
- HDPE (High-Density Polyethylene): Durable and stiff, used in toys like building blocks.
- LDPE (Low-Density Polyethylene): Flexible and lightweight, found in squeeze toys.
- PP (Polypropylene): Heat-resistant and strong, suitable for toys that withstand rough play.
- ABS (Acrylonitrile Butadiene Styrene): Tough and impact-resistant, used in action figures and construction toys.
Essential Repair Techniques for Broken Plastic Toys
Depending on the type of plastic and the extent of the damage, several techniques can be employed to restore broken toys.
1. Super Glue: This quick-acting adhesive is ideal for bonding broken plastic pieces. Apply a thin layer to both surfaces, press them together, and hold firmly until the glue sets.
2. Plastic Welder: This tool melts the broken plastic pieces back together, creating a strong and permanent bond. Heat the areas to be welded together using the welder, then quickly press them together.
3. Solvent Bonding: Certain solvents, such as acetone or methylene chloride, can be used to dissolve the surface of plastic pieces. When pressed together, the dissolved surfaces fuse, creating a strong bond.
4. Epoxy Adhesive: This two-part adhesive forms a durable bond, even with irregular surfaces. Mix equal parts of epoxy resin and hardener, apply it to the broken surfaces, and clamp or hold them together until the adhesive sets.
5. Cyanoacrylate Adhesive (Super Glue): This fast-acting adhesive is ideal for small cracks or breaks. Apply a thin layer to the damaged area, hold the pieces together, and allow it to set.
Expert Tips and Advice for Successful Toy Repairs
1. **Use the right adhesive:** Choose the appropriate adhesive based on the type of plastic. Refer to the plastic identification table for guidance.
2. **Clean the bonding surfaces:** Remove dirt, grease, or paint from the broken surfaces to ensure strong adhesion.
3. **Apply pressure:** Hold or clamp the broken pieces together firmly while the adhesive sets. Pressure ensures a proper bond.
4. **Allow sufficient drying time:** Follow the specific instructions for the chosen adhesive and allow it to dry thoroughly before handling the toy.
5. **Test the repair:** Gently manipulate the repaired area to ensure it is secure and functional before returning it to your child.

Image: www.youtube.com
FAQ: Troubleshooting Broken Plastic Toys
A: Identify the different types of plastic and use the appropriate adhesive for each type. Refer to the plastic identification table for guidance.
A: Use a plastic welder or epoxy adhesive, which allows for more precise bonding and filling irregular surfaces.
A: First, attempt to piece the broken pieces together like a puzzle. If the fit is secure, use epoxy adhesive to bond them. If the break is significant, consult a professional for repair options.
Conclusion
With the knowledge and techniques outlined above, you are now equipped to bring your broken plastic toys back to life. Remember, with patience, the right materials, and a little elbow grease, your child’s beloved toys can enjoy a second life, creating cherished memories for years to come.
How To Fix Broken Plastic Toys
Interested in More Toy Repair Adventures?
Explore our website for additional articles and guides covering various toy repair techniques and informative insights into the fascinating world of children’s playthings.